It is Pearl Harbor day leaving me little time to complete this grandson gift. The previously made Barnyard Garage needs appropriate cars. We possess old Matchbox™ and Hot Wheels™ cars made of metal. The newer are now plastic like everything else. The cars for the Barnyard Garage will be made of wood, brass axles, and surmounted with scroll sawn animals. Their dimensions will mimic those of Matchbox™ cars.
The first job is making the car bodies. A 4' length of 1/2 X 1 1/2" red oak was purchased from Menards. The oak should be tough enough to withstand a growing boy's activities. The oak was first ripped to 1 1/4". Using a crosscut sled made many years ago and has an angled edge, the cars were cut off with the blade tilted 30°. A cut was followed by flipping the board over, setting the correct distance against a stop, and making the second cut. Thirteen 2 3/4" car bodies were quickly prepped.

The drilling operation for the axles was then begun. First, a jig was made to ensure all axle holes were drilled the same distances from end and bottom. Two blocks of wood with square edges were glued to a base of MDF as seen below.

The car design calls for 1/16" holes 1/8" from the car bottom and 1/2" from the end. The holes will accomodate 1/16" brass axles, so a slightly larger drill, #50, 0.070", was selected. A little over 3 1/2" of brass rod are needed per car, so it is off to the hardware store tomorrow.
The belt on the drill was moved to the large driven wheel and the small spindle wheel, increasing the speed to about 1200 rpm. The jig was held on the drill table with two clamps after positioning it so the drill was 1/8" from the back and 1/2" from the left side. A car body was placed in the jig, held with a pinch clamp, and drilled in 1/8"-1/4" increments, clearing the chips as the drilling proceeded. There was still some wandering and the exit holes are not always 1/8" from the bottom of the car body. The second photo below shows the many drilled holes, though it took less than half an hour.


Tires need to be considered. Preferably, they would have treads so an experiment was in order. A short length of the oak dowel rod was held in the three jaw chuck and the knurling tool was put in place. The lathe was turned on and the knurling tool tightened. All seemed in order and when revealed the knurl is not bad. It is shown below. Easier than any knurling I have done before. The wheels need to be cleaned prior to any further wood knurling.

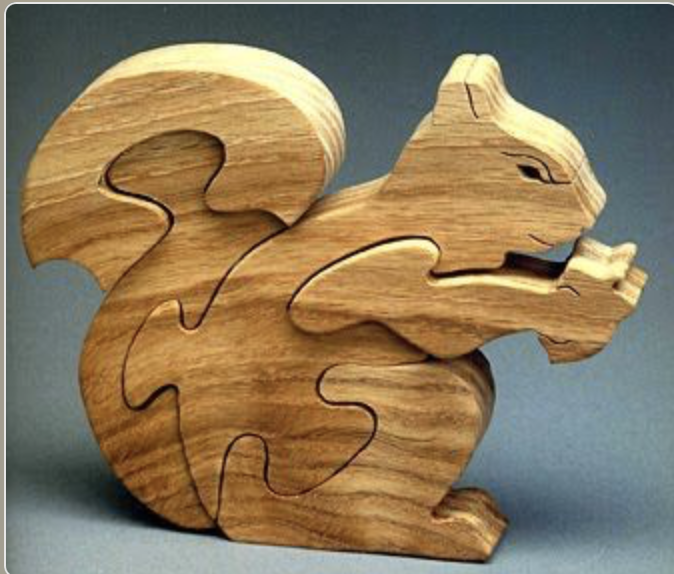
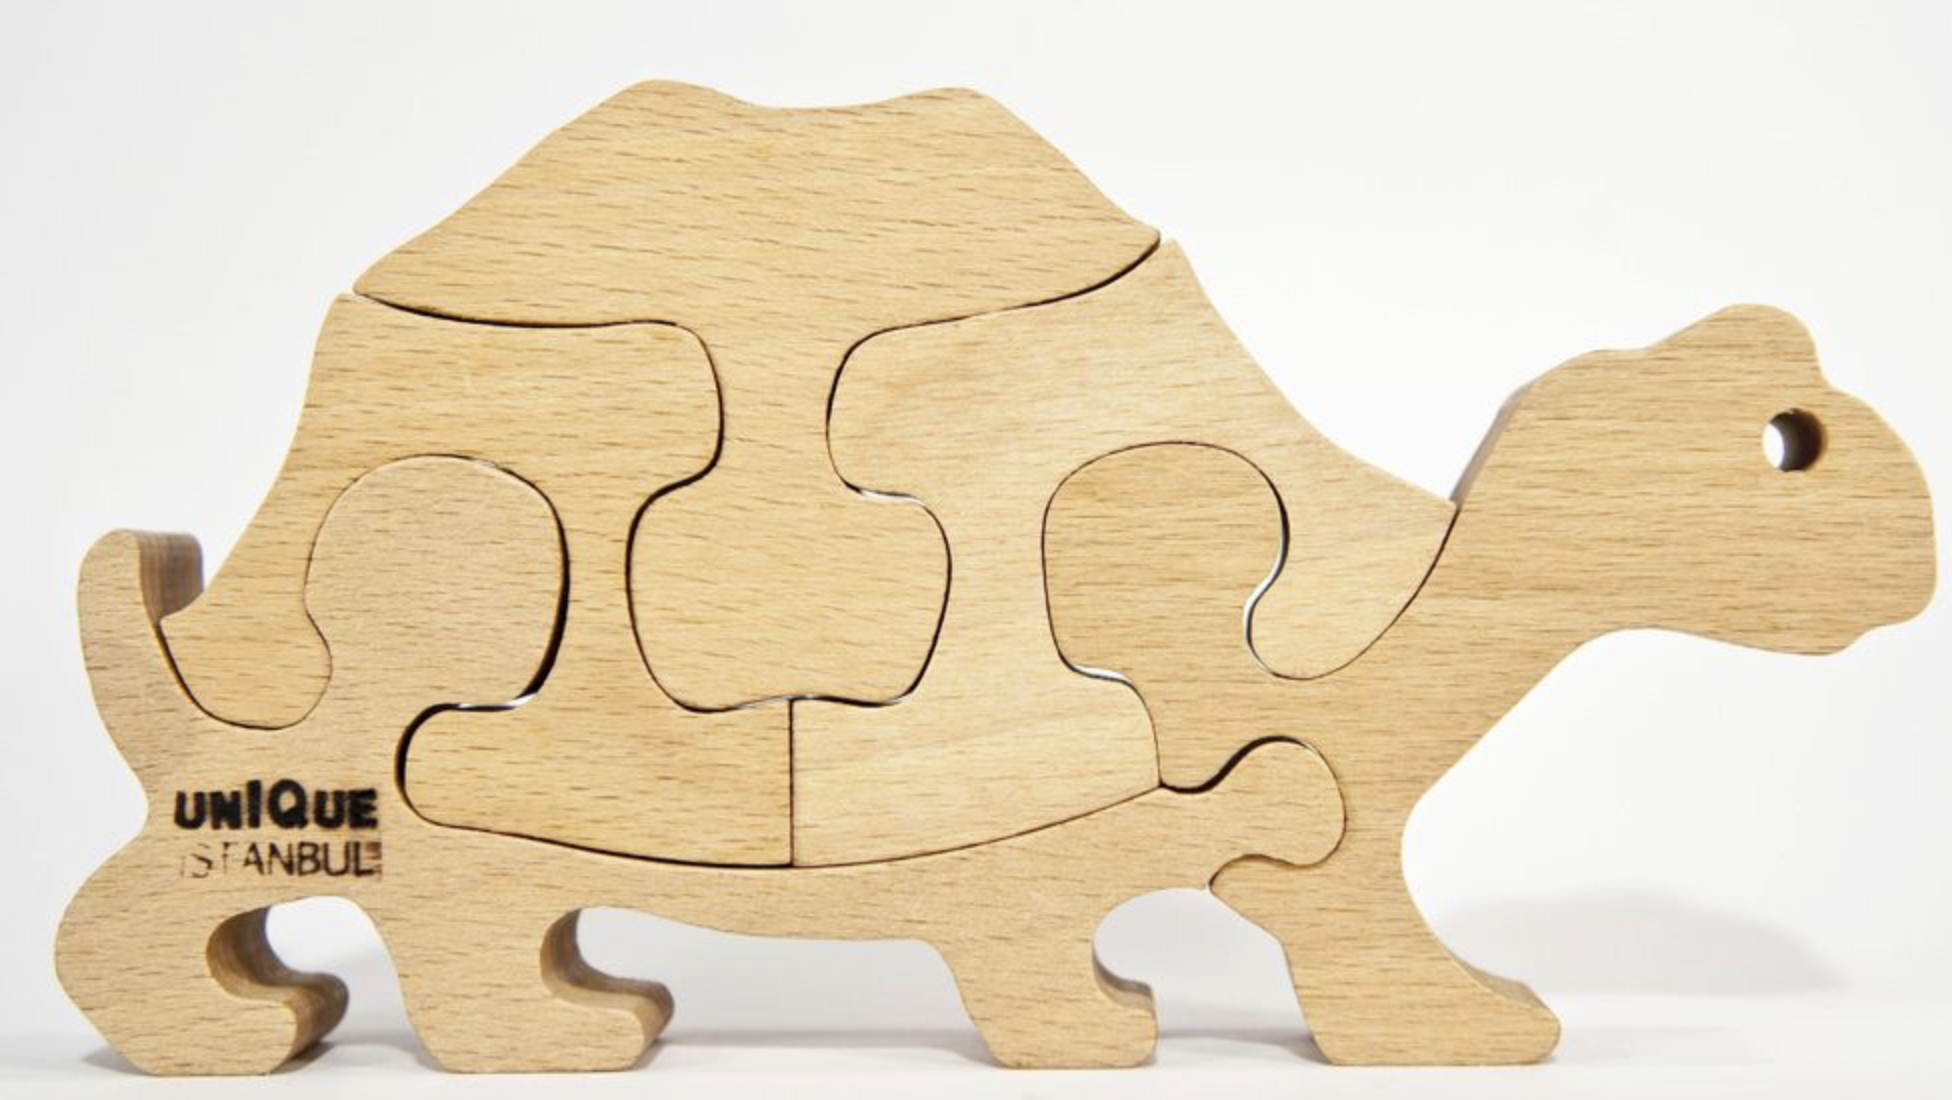
The animals perched on the car bodies need to be considered. The open room between the ramps and the corresponding roof is 2 3/8", implying the animals can be no taller than 1 3/4". Mulitiple images of farm animals were downloaded from the web to be used as templates for cutting the animals with the scroll saw. A selection of these images is shown below.
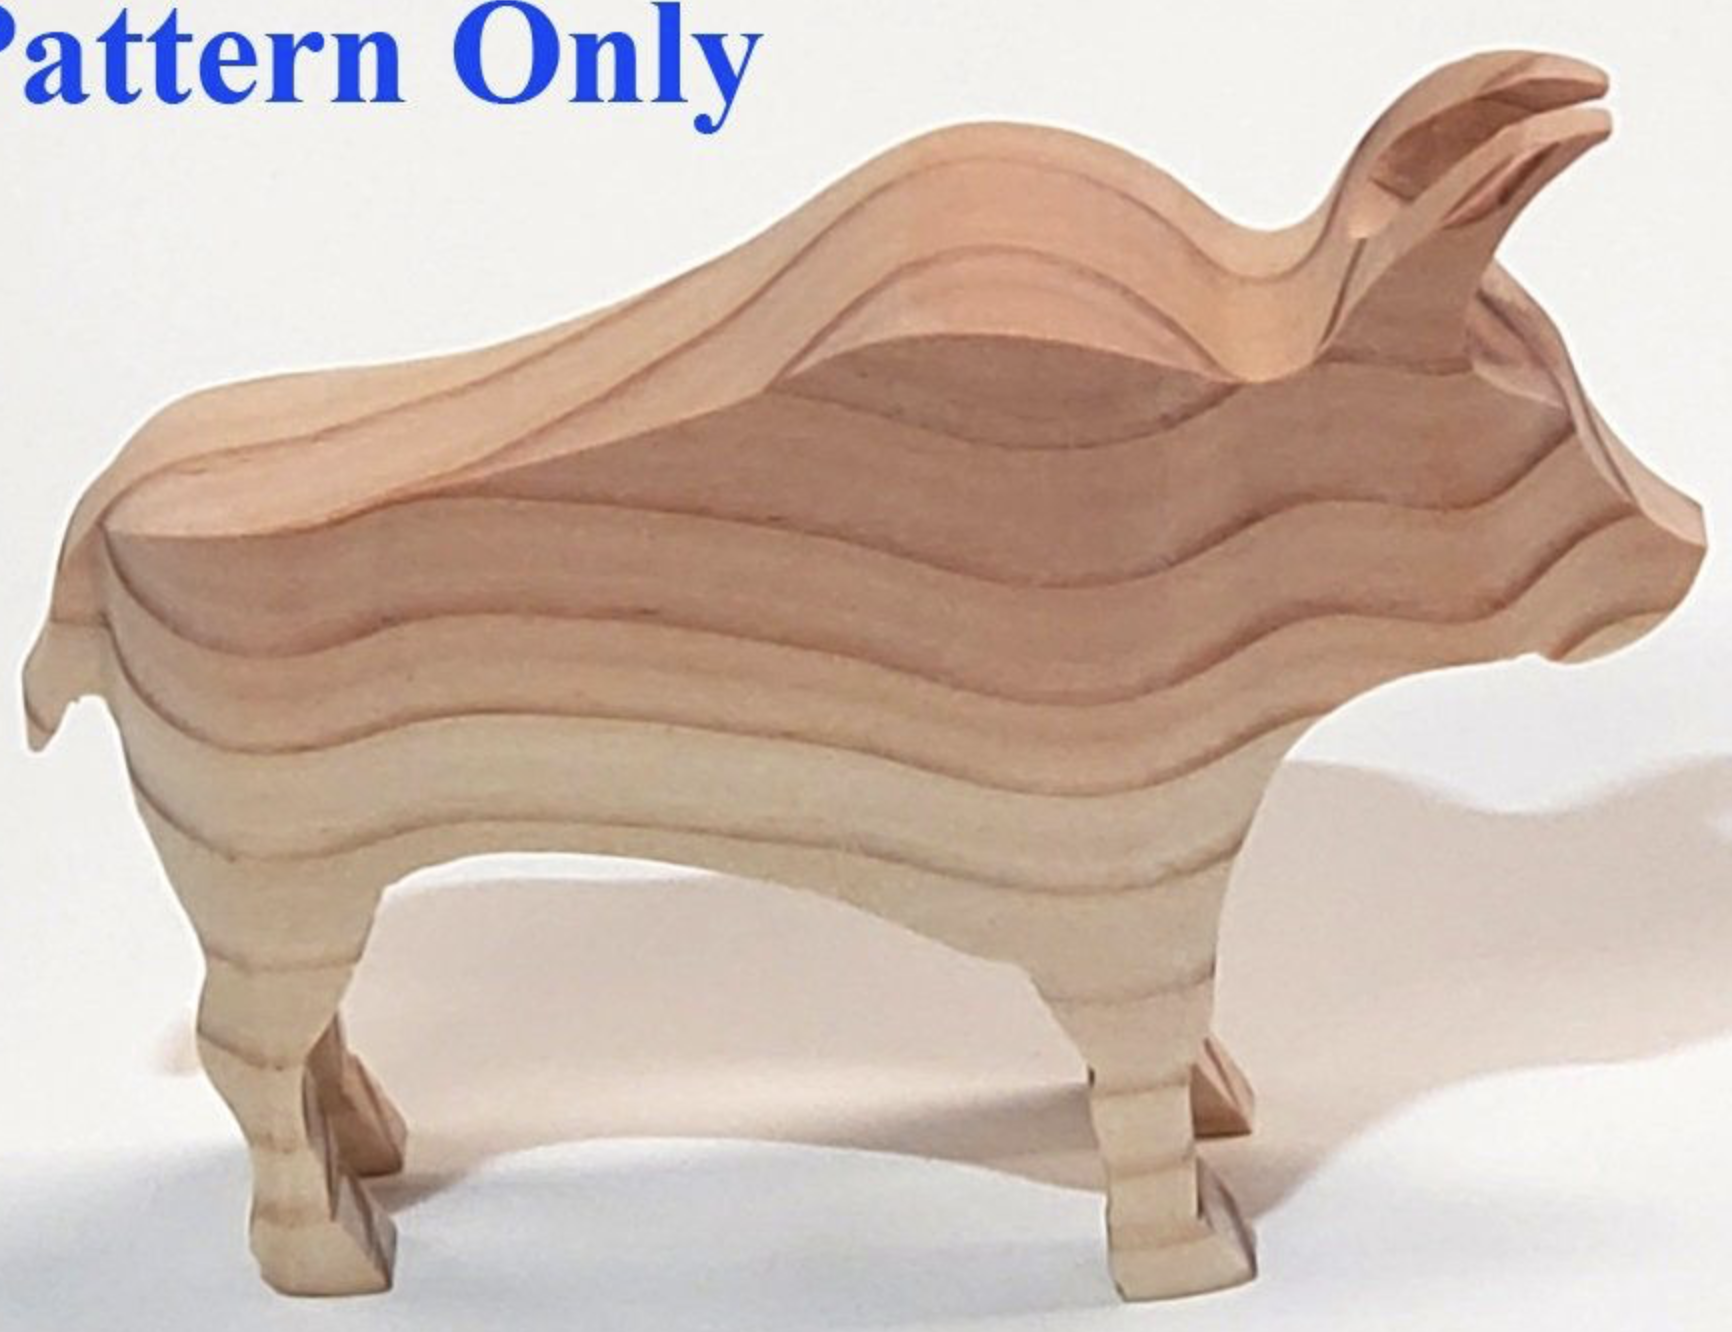
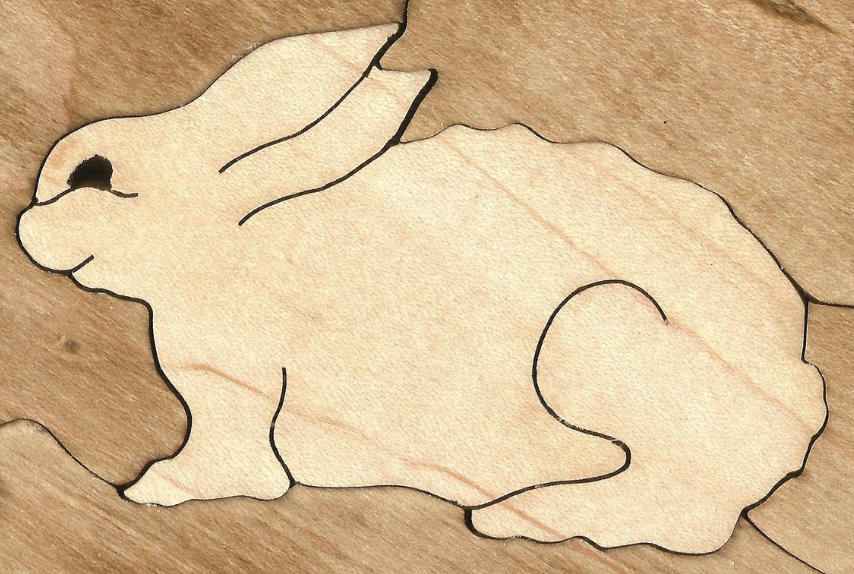
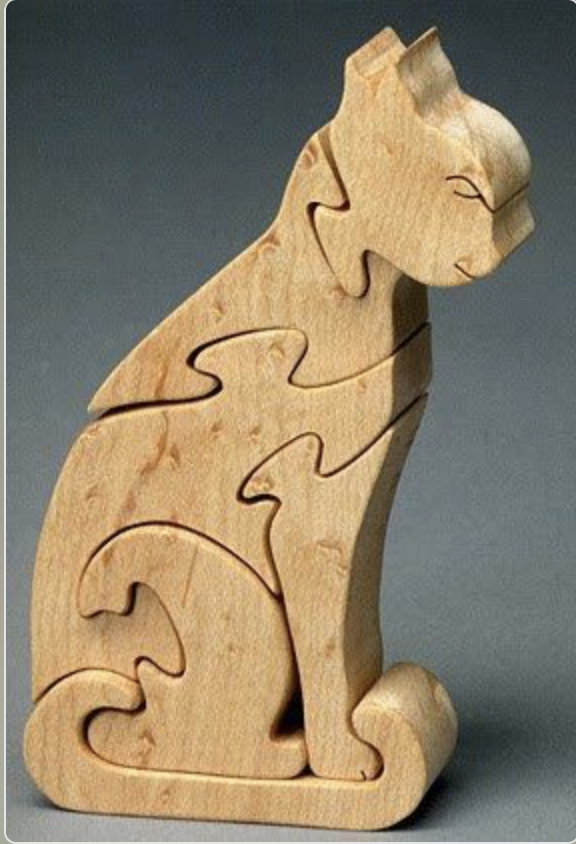
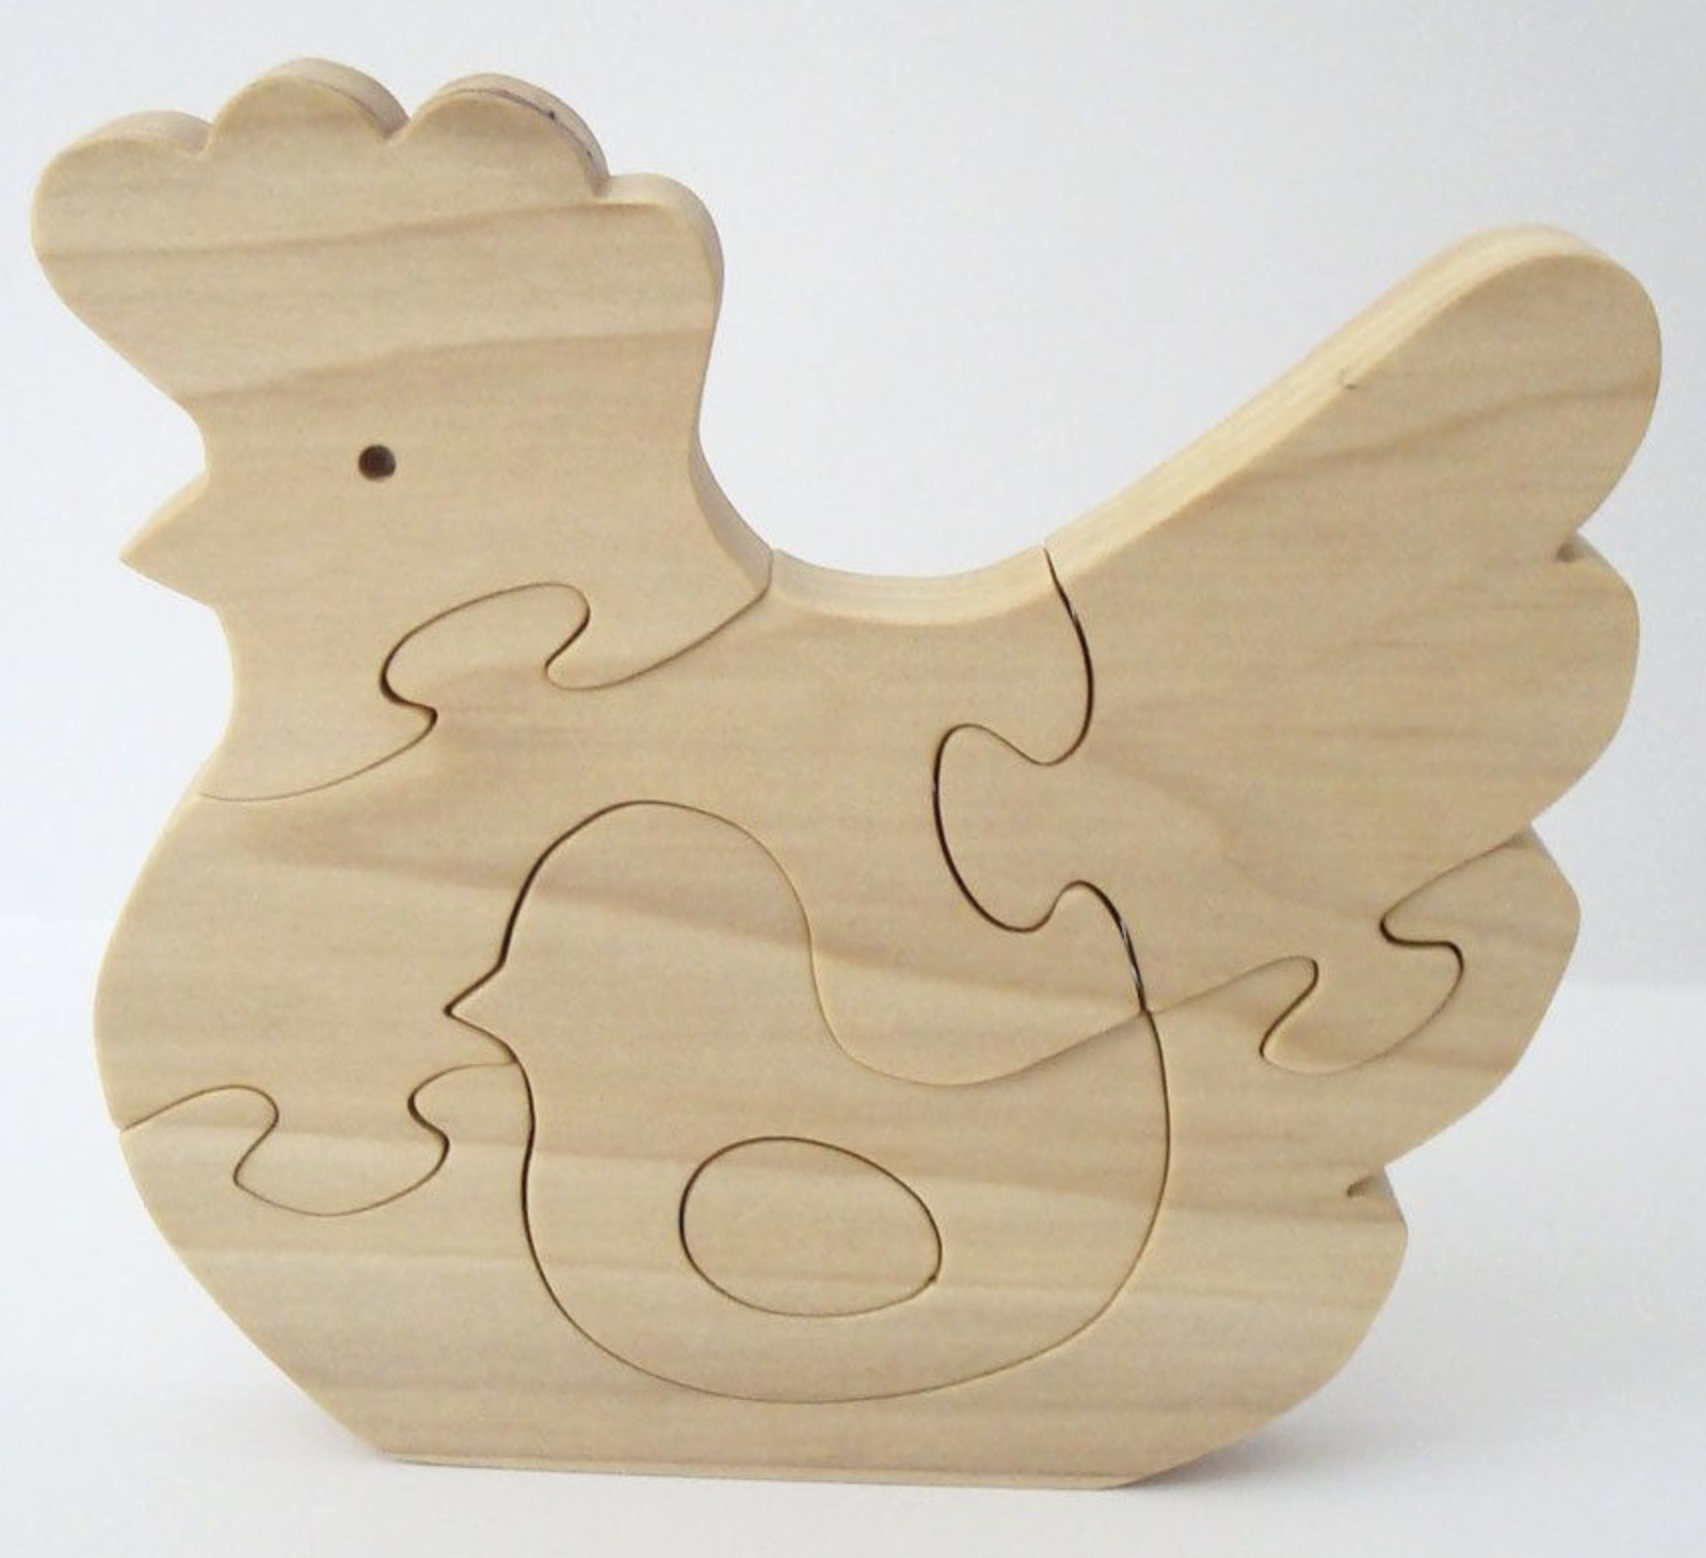


The pictures were turned into sketches in 1 1/2" X 2 3/4" windows. The length limited by the car and the height by the inside ramps and their openings. The bull and duck still need some work, but the rest are probably as good as they will get. The pictures were cut out and attached to small blocks of 3/4" aspen.

After attaching the sketches with double sided tape, they were cut out with the scroll saw. The simplest, chicken, was cut first and came out surprisingly well as seen below. The next five animals followed quickly. Interestingly, the bunny did not have a tail in the original image. This went unnoticed until mid-cut and a tail was quickly added. The aspen is very soft and easy cutting. The third photo shows four more animals cut the next morning. And ducky makes eleven. The bull did not look good so it was swapped out for a bird.


The cars need to be drilled for the dowels to attach the animals. Most car bodies will be drilled through for the 1" dowel. A few, cow and dog, maybe pig, won't be drilled through as more dowel is needed to reach the corresponding belly of the beast. The animals all need eyes drilled and perhaps filled with contrasting wood. The animals also need rounding and some lines carved to distinguish body parts.
Ten of the car bodies were drilled through on center with a 1/4" drill bit. The remaining two were only drilled 1/4" deep. After fitting all of the animals on dowels, the two drilled only part way were drilled through. The photo below shows the lineup of mounted animals. For all of the animals on the left of the photo the dowels will need to be cut off after glueing, which is why they sit over the slot in the table. The bird needs to be lowered to fit, but the dowel is too tight at this point.

The car bodies need the front and back ends flattened just a bit so they are not so sharp. The corners also need to be rounded off. This was the next task undertaken. The long edges were all quickly rounded with the radi-plane™ as seen in the first photo. The sharp ends were flattened and then all corners rounded with an 80 grit sanding block as shown in the second picture.


With all except painting completed on the car bodies, attention returned to the animals. All need sculpting and sanding. This began with the pig, where a variety of files along with sandpaper were used to mostly shape the edges. A few grooves were cut with a V-chisel. The photo below shows four animals complete. There are additional carving that could be done, such as separating the right and left legs, but this is more than I have time for this late in the game.

Over the next twenty-four hours all of the animals were finished. There were a few chipouts requiring glue, but most went well. The beak on the bird was modified, when it was realized just how thin one of the halves was. All of the animals at this stage are seen in the line-up below.

Eyes were my next focus, drilling all twenty-four, though drilled through. Some eyes need to be larger, especially the frog. The owl actually had two holes drilled for eyes as it is depicted face on. Three drill bits were selected; 1/16", 3/32", and 9/64". The holes were cleaned up as needed with minimal use of a countersink.
Time to turn the car bodies into cars with wheels. The plan is using the Sherline lathe to sand and knurl a length of dowel, then drill, and part off a wheel. The drilling will be to depth for only one wheel to minimize wandering. The wheels will be made 7/32" X 1/2". A 3" length of 1/2" oak dowel was cut off and held in the three jaw chuck. The first inch was knurled after sanding the dowel with 80-grit sandpaper. A quick chamfer was made on the end of the rod with a file. The dowel was center drilled and then drilled with a #51 drill, 0.067", to a depth of 0.259" to accomodate the width of the cutoff tool. 5/32" of the end was parted off, stopping partway through to chamfer the newly forming end. Repeating this process quickly produced four wheels. The photo shows the four wheels.

The wheels were placed on a 1/16" brass rod inserted in the car body as seen in the first photo below. The rod was cut off at 1 3/4", inserted into the body and through both wheels. The two ends were quickly peened trapping the wheels. A problem was quickly discovered, the wheels are barely big enough to lift the car off the surface. Unlike knurling metal where the metal expands a small amount under the deformation, the wood was compressed and the wheels are now 3/8" diameter, producing a low rider. Luckily, there is 5/8" doweling in the shop, though not oak, so it is unclear how much it will compress when knurled.


Caution! The axle should be maybe 1/32" to 1/16" longer than the specified 1 3/4". The latter was just sufficient material to peen, but left a very small increase in rod size, just enough to hold the wheel on. A young curious child might be able to pull the wheel off and treat it like food. Leaving the rod longer should produce a bigger head on the axle, resisting a child's tugs.
The pine dowel is too soft and the knurl looks bad. I will need to purchase a dowel rod that is harder wood to continue and luckily Menards indicates they have oak dowels in stock. The trip might wait until tomorrow as it snowed 4" yesterday and the temperature now is 4°!
Painting colors need to be selected for both the animals and the cars they ride on. The table below shows the colors selected.
| Animal | A Color | Car Color |
|---|---|---|
| Dog | Brown stain (Black nose) | Pink |
| Cat | Brown-Yellow | Pink |
| Pig | Pink | Brown |
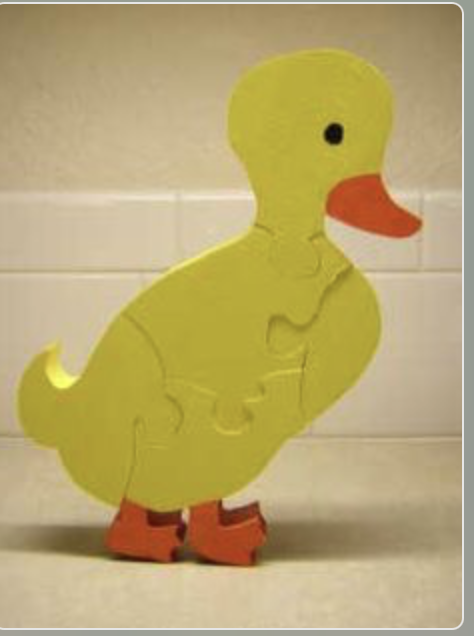
| Duck | Yellow (Orange beak) | Blue |
| Bird | Blue & Pink | Blue |
| Frog | Green | Blue |
| Chicken | White (Pink wing) | Brown |
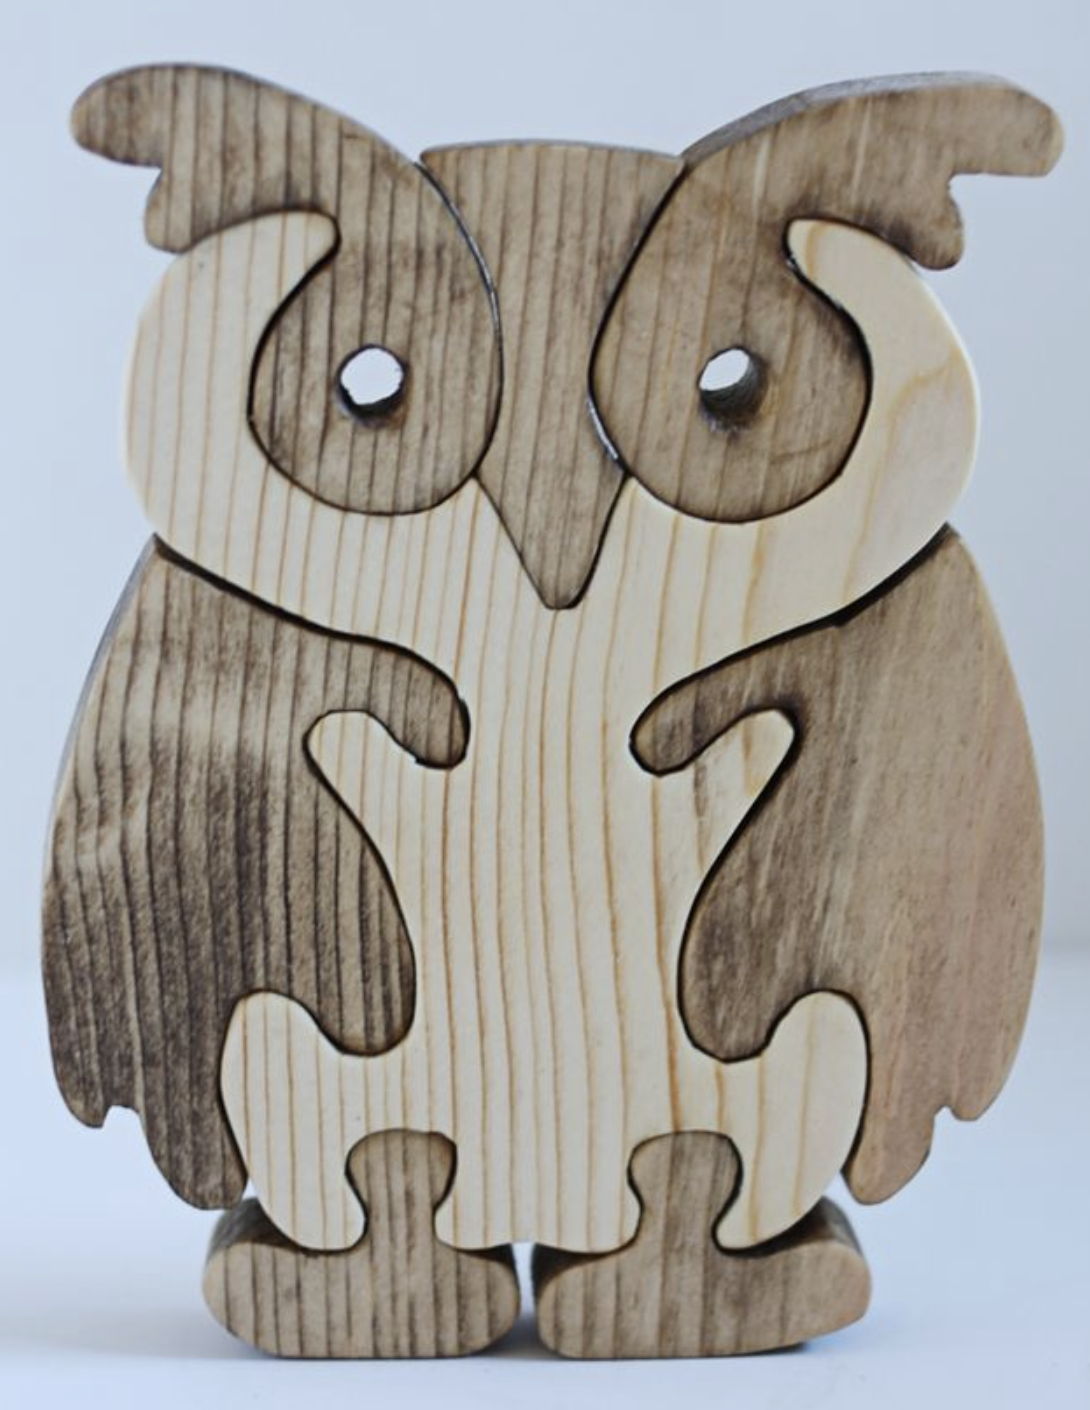
| Owl | White & Brown | Green |
| Cow | White & Brown | Green |
| Turtle | Green & Brown & Pink | Brown |
| Squirrel | Brown stain | Green |
| Rabbit | White (Pink nose) | Green |
Making tires from 5/8" oak dowel was straightforward but tedious. Multiple 3" lengths of the dowel were cut off. The dowel was placed in the 3-jaw chuck with an attempt to ensure it ran reasonably true. The end was sanded and the corner chamfered with 80 grit sandpaper. The knurling tool was attached to the QCTP and was run along the dowel about 1 1/2" or as close to the chuck as I could get. Only a little experimentation was required to get a decent knurl. The knurl comes with a lot of small fractured bits of oak. These were removed during a quick spin with 220 grit sandpaper.
The end of the dowel, still in the chuck, was center drilled and then drilled 0.30" deep with a #51 drill. The parting tool replaced the knurling tool on the QCTP and was advanced 0.259" from the end, where it parted off a 0.219" disk. During the parting operation, parting was paused and a three corner file chamfered the two newly formed corners. The drilling, the parting, and the filing were repeated three or four more times on the dowel, depending on the length of knurled area. After eleven more dowels were given the same treatment, 48 tires were in hand along with extra. Some of the tires were rejects due to poor knurling or to an off-center hole, but enough were good to proceed. The animal car tire, shop inventory is seen below.

The plan was to paint the tires black. After pulling out the child safe paint used many years ago, it was discovered that the black and other colors had dried up. Purple, however, seemed salvageable and was saved by the judicious addition of water. The tires were all painted purple, while suspended on copper wire as seen below.

The animals needed painting and the pig was selected as the guinea pig. Red acrylic paint from the barn was mixed with white primer, both water based. This pink, a little redder than pictured, paint was applied to the pig and to parts of a few other animals. The pink pig is shown below. After painting the wheels and pink animals, all were lightly sanded and given a second coat.

Before heading to the store this morning for more paint and other necessities, a new cat was cut out on the scroll saw. Its tail broke during the cutting, an easy fix, though a clamping challenge.


Painting began in earnest, taking two days. The paint used was green, blue, and purple from the child safe paints, recovered with water. Also used were latex paints: red, yellow, and white. Two colors, orange and brown, in addition to the pink were made by mixing. The photo below shows both car bodies and animals in various stages of painting.

Most animals had more than one color, though a few did not. The cat, dog and squirrel were plain brown and needed enhancements. The cat was striped with yellow, the dog was dotted with purple, and the squirrel had its acorn painted purple and yellow. The frog's intense green was a bit boring so also got the purple spot treatment. The painted animals are shown in the first photo and the car bodies in the second.


It is past time to give the animals sight. Six of the animals have 1/16" eye holes, so six 3/4" plus a smidge brass rods were cut with a hacksaw and the ends filed and somewhat chamfered. The rods were coated with glue and inserted into the holes, followed by excess glue removal. The first photo below shows the dog after installing his brass eyes. Five animals had 3/32" holes and rod this size was located and cut to fit. Finally a 9/64" rod for the frog's eyes was not in stock so a 5/32" rod in the lathe was reduced to size, cut off at 7/8" and the ends nicely rounded with a file. This left the frog's eyes slightly bulbous as desired. The second photo shows all of the animals sporting their newly installed eyes.


Dowels were fitted to animals and corresponding cars. Some dowels needed to be shortened. Animals with gaps between cars and bellies had the middle section of the dowel painted gray. Glue was applied to both ends of the dowel and to the bellies or the feet of animals as needed. The dowels were inserted and the animals clamped to the car. Two clamped animals are shown below.

Axles were made from purchased 1/16" brass rod cut into 1 7/8" lengths. A spacer was made from 1/32" thick brass sheet with a 1/16" slot cut in one end. A block of steel had a hole drilled 0.070" in diameter and less than 1/16" deep, just the tip of the drill entered the steel. The end of the brass rod was set in the hole, a tire slid on, the spacer was inserted, the body and the second tire were then added. The free end of the rod was peened until a 3/32" head was formed. The entire setup was flipped over and the opposite end of the rod was peened. The spacer was removed providing room for the wheels to freely rotate. The first completed car, cow car, is shown below. It rolls easily down the ramps and clears the top of the internal ramps.

The peens produced sometimes have sharp edges, too tiny for my fingers, but maybe not too tiny for the one-year old grandson. Consequently, the edges of the peens were lightly filed. The only challenge when peening the axle ends is a strong tendency for the axle to bend. It can usually be straightened using the wheel. A clamp, locking the wheels in place, might minimize this bending.
The clamping did not work, but decreasing the intensity of the hammer blows did, a lot of small taps peened the rod ends and minimized bending. All of the animal cars were wheeled to complete the project. Well almost. About half of the animals got stuck heading down the internal ramps. The duck is shown stuck in the photo below. The openings were treated with a wood rasp angling the edge and now all of the animals move easily down the internal ramps. The entire cast of animal characters is shown in the final photo.

